Custom case designer
How to make a custom phone case from a photo
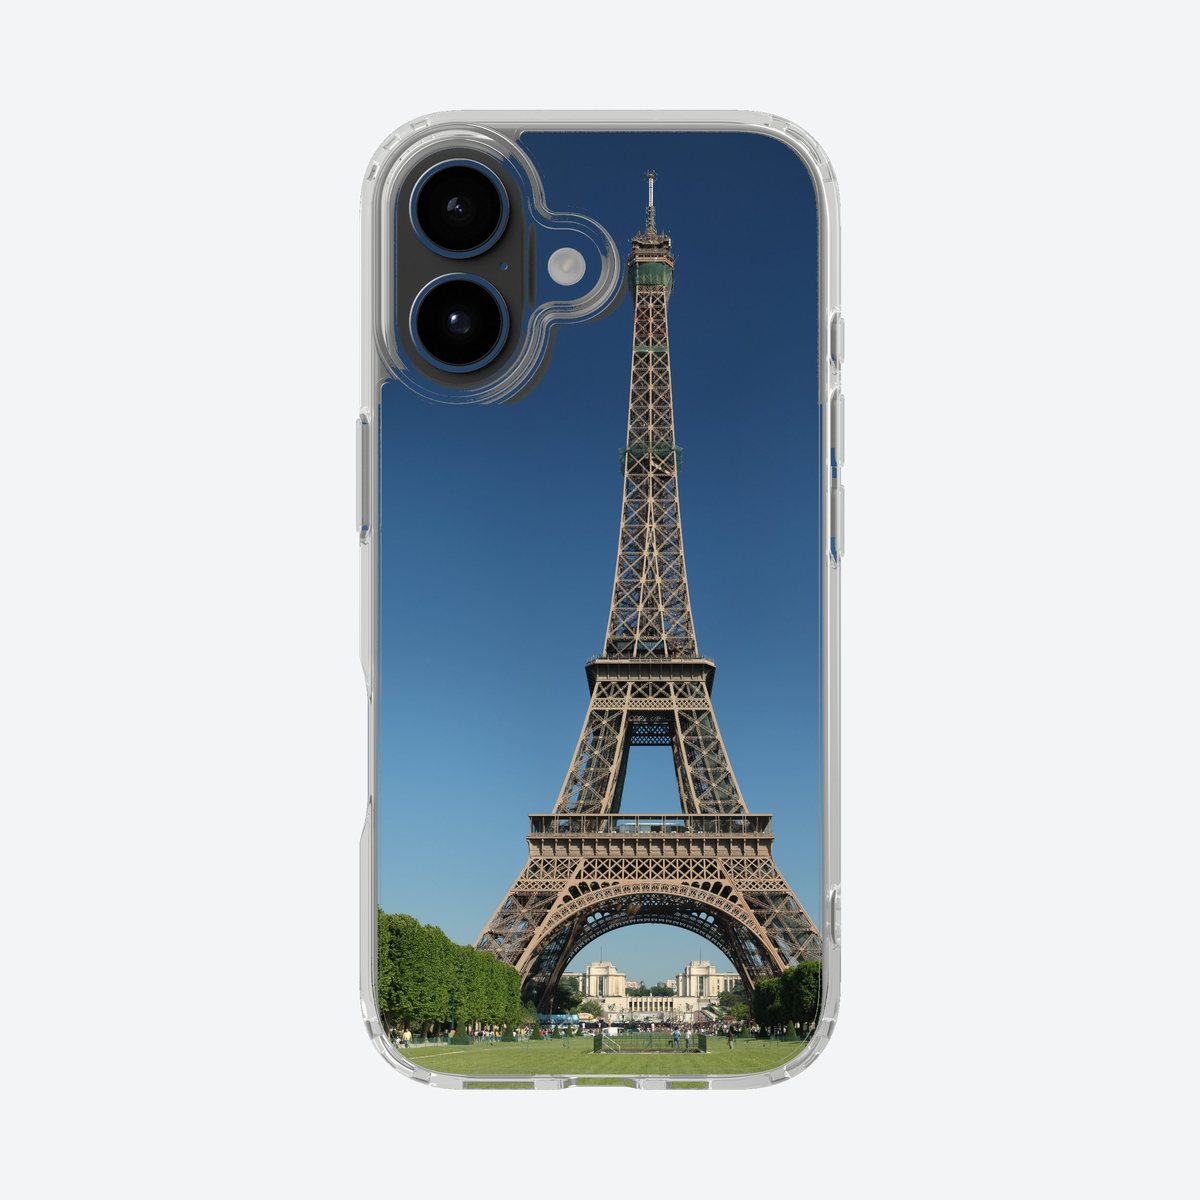
Turning a photo into a printed phone case takes about five minutes once you know what to watch for. This walks through picking a photo that will actually print sharp, uploading it in the Case Finds custom case designer, framing it around the camera cutout, and previewing the mockup before you order — using one real photo, start to finish.
Step 1: Choose a photo that will actually print sharp
Start with the largest, sharpest version of the photo you have — not a copy that was already resized for a text message or social post. A phone case face is small, but the printer still needs real detail to work with; a soft or heavily compressed source photo prints soft too, just at a smaller size.
The photo below is a good example: a sharp, well-lit original with the subject filling most of the frame. It is the source photo used for the finished case shown at the top of this guide. If you are choosing between two photos of the same scene, pick the one where you can zoom in on your screen and still see crisp detail, not soft edges or blotchy color.

| Check | Good photo | Will print blurry or soft |
|---|---|---|
| Original size | The largest export/original you have — ideally 2000px+ on the short side | A photo already resized for a text message or social post |
| Source | Camera roll original, DSLR/mirrorless export, or a high-res stock/Commons photo | A screenshot of a photo, or a photo of a screen |
| Sharpness at 100% | Zoom in — edges and detail stay crisp | Zoom in — you see soft edges or JPEG blotching |
| Where it came from | Your own photo, or one you have the right to print | A tiny thumbnail saved from a search results page |
| Subject framing | Main subject fills most of the frame | Subject is small in a wide, empty scene |
DPI is a print-size target, not a magic number — see the artwork & DPI guide below for the full explanation.
Step 2: Pick your exact phone model
Custom cases are printed to the model you select, so the camera cutout, button openings, and port positions line up correctly. Case Finds supports current iPhone, Samsung Galaxy, and Google Pixel models — select yours before you start placing the photo, since the cutout position shifts between models and generations.
If you are not sure which model you have, check Settings on the phone itself (General > About on iPhone, About phone on Android) rather than guessing from the case shape. Ordering the wrong model is the most common reason a custom case does not fit.
If your exact model isn't listed as a template in the designer yet, pick the closest match and note your exact model in the order note at checkout — we check every custom order by hand before printing and make sure you're sent the correct case for your phone.
Step 3: Upload your photo in the custom case designer
Open the custom case designer, select your phone model, and upload your photo (files up to 30 MB — PNG, JPG, EPS, or PDF all work). The photo appears on a live mockup of the case immediately, so you are working against the real cutout and edges rather than a plain rectangle.
From here you can drag the photo to reposition it and pinch or scroll to zoom, the same way you would crop a photo on your phone. There is no separate 'design' step before this — upload and placement happen in the same live preview.
Step 4: Frame the photo around the camera cutout
This is the step that separates a case that looks intentional from one that looks like an afterthought: keep faces, landmarks, or any detail you care about away from the camera cutout and the outer edges. Anything placed directly behind the camera island will be visually interrupted by it, even though the case itself does not cover the lenses.
For a tall subject like a tower, a building, or a person, centering it in the lower two-thirds of the case usually reads better than centering it in the exact middle, since the middle is where the camera cutout sits on most current phone models. Drag and zoom until the important part of the photo sits clearly outside that zone.
Step 5: Add text if you want it
Text is optional. If you add it, keep it short — a name, a date, or a short line reads clearly on a case face; a full sentence usually does not. Place text in open space in the photo rather than over a busy area, or it can become hard to read once printed at case size.
Preview text at the size it will actually print, not zoomed in on your screen. What looks readable enlarged on a laptop can print smaller than expected on a real case.
Step 6: Check the live preview before you save it
Before adding to basket, look at the full mockup: is the subject where you want it, is anything important hidden behind the camera cutout, and does any text sit where you can read it? The preview mirrors the print placement closely, so what you see here is what ships.
It is worth checking on both a phone screen and a larger screen if you can — small framing issues near the edges are easier to catch when the preview is larger.
Step 7: Order and what happens next
Once the preview looks right, save the design and check out. Custom cases are printed to order for the exact model you selected, so double-check model and artwork placement before paying — changes are not always possible once production starts, since it begins quickly after the order comes in.
From there it prints on a soft TPU snap case with professional UV inks and ships with the same free worldwide shipping as catalog designs. If anything about the order looks wrong after checkout, contact [email protected] as soon as possible.